
How to Measure and Install Self-Adhesive Oak Wall Panels
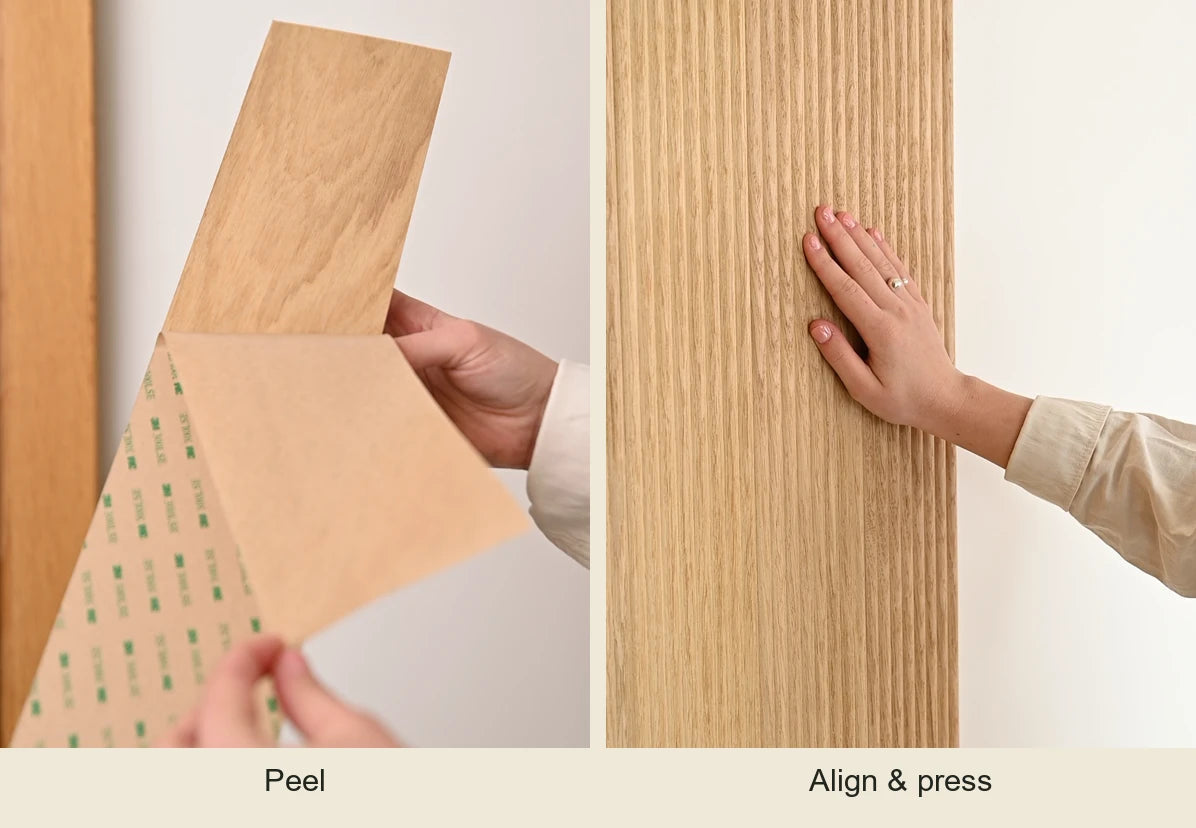
FlutLine panels are made from solid European oak and come with a self-adhesive backing, so most projects need no glue, nails or special tools. The result depends mainly on two things: accurate measurements and a well-prepared surface. This guide takes you through both.
1. Measure: height first, then width
Measure the surface in millimetres. The height you enter is the length of each panel, from 50 mm up to 2,800 mm. The width is the total surface width to be covered. Each panel is 104 mm wide, so the calculator works out how many full panels are needed and how much has to be trimmed from the outer edges.

Tips for accurate measuring:
- Measure at several points. Walls and old furniture are rarely perfectly square; use the smallest value.
- Decide whether the panels should run to the very edge or stop a few millimetres inside it, and subtract that margin before entering the size.
- For several surfaces, add each one as a separate project. Quantity pricing still uses the total area of all panels in your basket.
2. Choose how the edges are trimmed
Most widths are not an exact multiple of 104 mm. You can choose how the remainder is handled:
- Both edges, symmetrical: the first and last panel are trimmed equally. This looks balanced on doors, cabinet fronts and centred wall sections.
- One edge: only one outer panel is trimmed, which works well against a wall or corner.
- No trimming: you receive full-width panels only.

The drawing in the calculator shows the exact width of the first and last panel before you order.
3. Prepare the surface
The adhesive needs a smooth, clean and dry surface. Remove dust, grease and loose paint. Glossy or foil-coated furniture should be cleaned with a degreaser. Very porous or crumbling surfaces, fresh plaster and areas exposed to standing water are not suitable. Let the panels acclimatise in the room before installation, because solid wood reacts to temperature and humidity.
4. Peel, align and press
- Start with the first panel on the side you chose for trimming, or in the centre for symmetrical layouts.
- Peel off part of the backing, align the panel with a spirit level and press it lightly in place.
- Remove the rest of the backing and press firmly along the full length.
- Place the next panel tightly against the first and repeat.
Protect the oak surface as recommended, for example with a suitable oil or wax, especially in kitchens and hallways.
Not sure about the profile or tone?
Order samples first: each one is 170 × 104 mm, so you can test the adhesive and see the oak on your own surface. For more answers, see our questions and answers.